Your HyperX Cloud II headset microphone is not working properly? Don’t fret! Here is a list of effective tips that can help you fix it:
- Check the mute button on your headset
- Check your sound settings
- Check the microphone settings for your apps
1. Check the mute button on your headset
There is a mute switch on your HyperX Cloud II headset. Your microphone won’t be working properly when you accidentally turn it on. You should check it to make sure the mic isn’t turned on.
2. Check your sound settings
You should make sure your HyperX Cloud II headset mic is enabled and set to the default mic on your Windows computer.
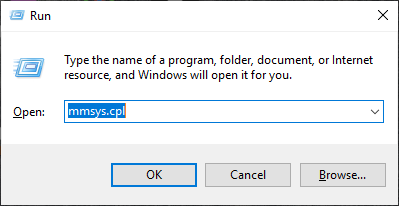
Step 1: Press the Win and R keys on your keyboard, then enter “mmsys.cpl“.
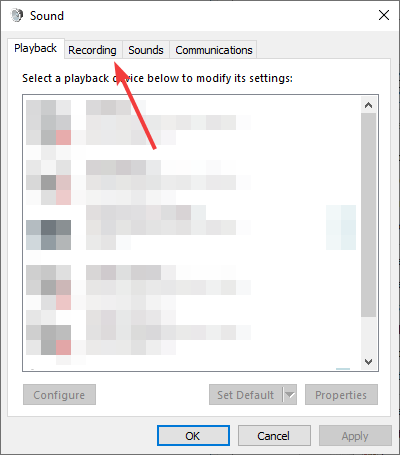
Step 2: Select the Recording tab.
Step 3: Make sure your headset microphone is enabled (right click it and select Enable).

Step 4: Make sure your headset microphone is set to the default microphone (right click it and select Set as Default Device).
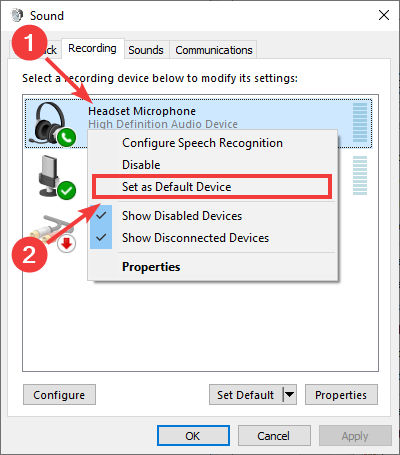
Step 5: Click OK.
See if you can use your HyperX Cloud II mic now.
3. Check the microphone settings for your apps
* This fix is for Windows 10 users only.
You should allow your apps to access your HyperX Cloud II mic, so you can use the mic on your Windows 10 computer.
Step 1: Press the Win and I keys on your keyboard.
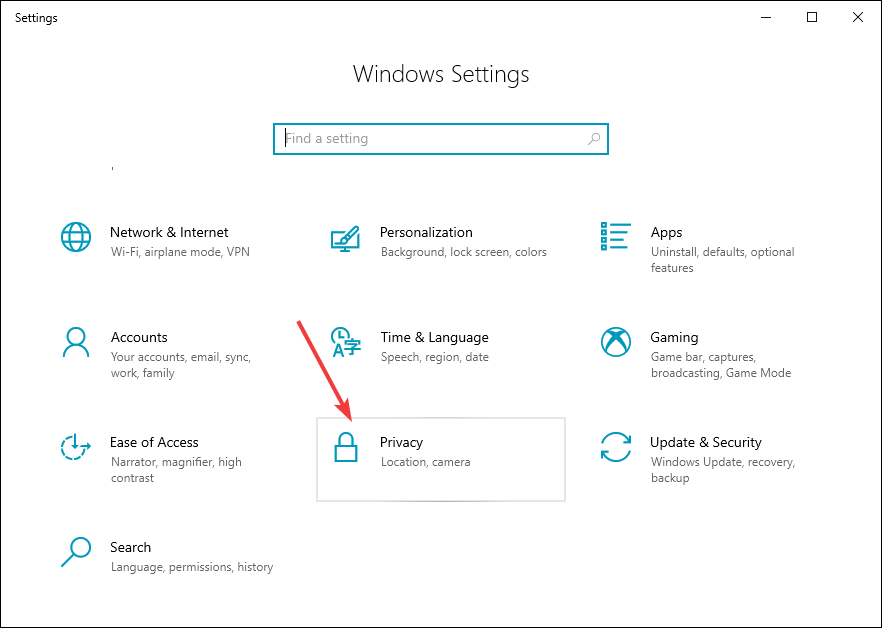
Step 2: Select Privacy.
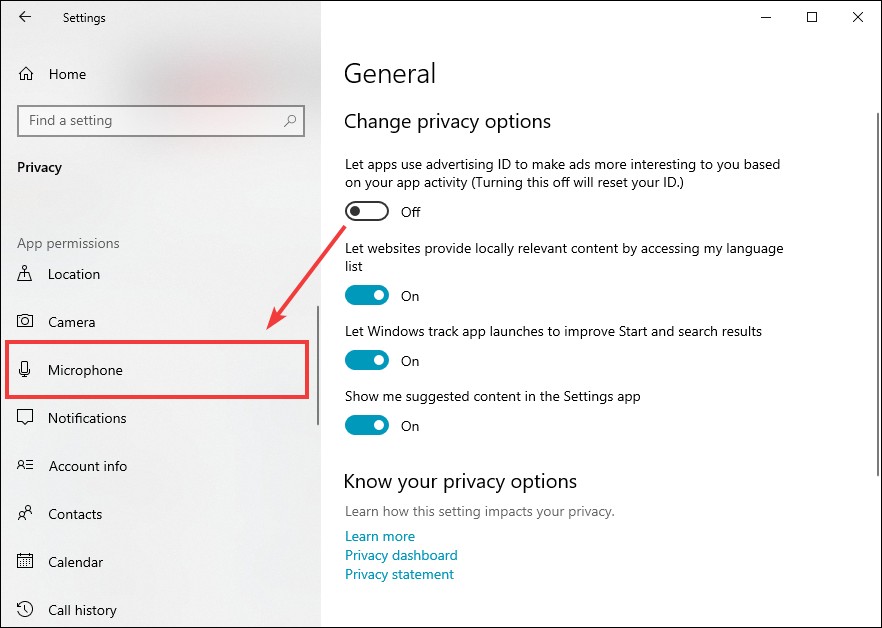
Step 3: Select Microphone.
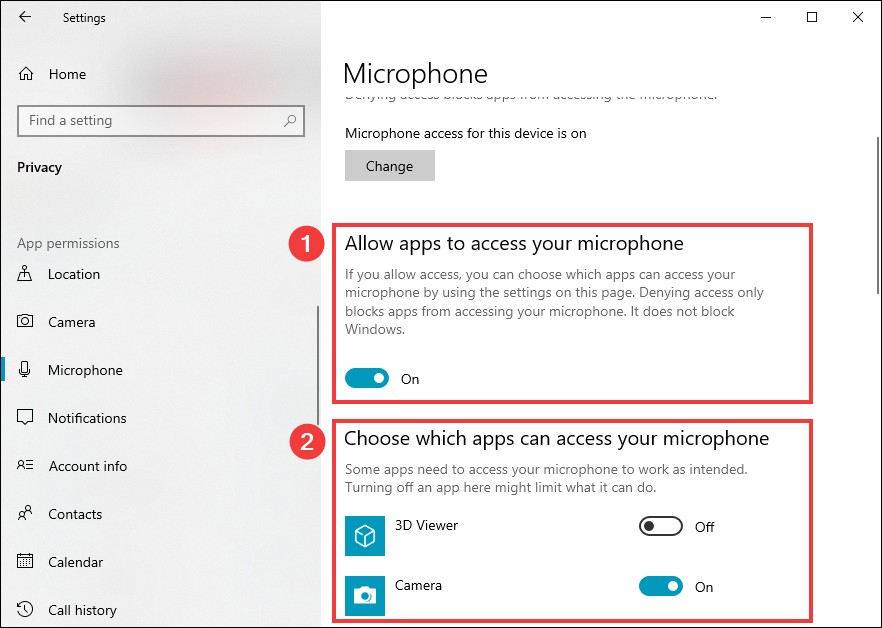
Step 4: Make sure you’ve allowed apps to access your microphone, and make sure the apps you want to use with your headset microphone have the access to it.
Now check your app and see if you can hear sound from your headset mic on the app.
Has any of the tips above helped you? Or do you know any other effective fixes? Tell us by leaving a comment below.