Seeing the “BAD_POOL_HEADER” blue screen error frequently? Don’t panic! Many Windows users have had the same issue. And many of them have fixed it using one of the solutions below.
These are the fixes you should try:
1. Turn off your antivirus software
There has been a lot of Windows users reporting that their BAD POOL HEADER error is caused by their antivirus. You should check your antivirus to make sure it isn’t the cause of the blue screen error. If it is, try turning it off temporarily (be careful for what you’re browsing when it’s off). Then see if the BAD POOL HEADER error disappeared.
2. Update your device drivers
Usually the BAD_POOL_HEADER blue screen error is caused by the outdated or corrupted drivers. You should update your drivers to fix the error:
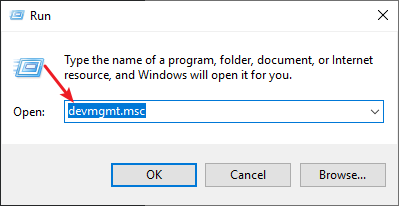
Step 1: Press the Win and R keys on your keyboard, then enter “devmgmt.msc“.
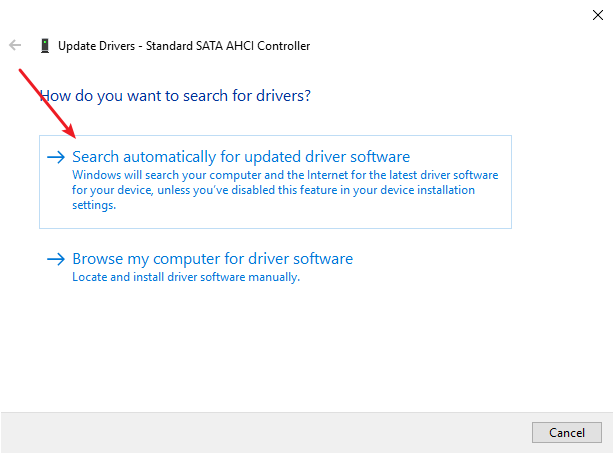
Step 2: Right click it and select Update.

Step 3: Select Search automatically for updated driver software.
Step 4: Wait for the update process to finish.
3. Run SFC
You can also try running SFC (the System File Checker) that can help you repair your corrupted system files. To run it:
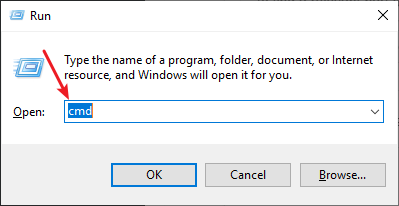
Step 1: Press the Win and R keys on your keyboard
Step 2: Type “cmd“, then press Ctrl, Shift and Enter to open Command Prompt as administrator.
Step 3: If you’re on Windows 10, enter the line of command below and wait for the process to finish.
dism.exe /online /cleanup-image /restorehealth
Step 4: Enter the line of command below and wait for the process to finish
sfc /scannow
Step 5: Restart your computer.
4. Reinstall your memory (RAM)
There may be temporary issues with the memory (RAM) you’re using, and it causes the BAD POOL HEADER blue screen error. You can reinstall it to fix these issues.
Step 1: Turn off your computer and unplug it from the power.
Step 2: Open your computer case and remove the memory from your computer.
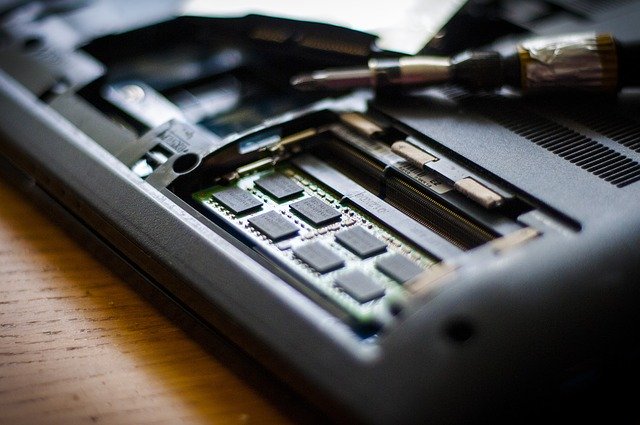
Step 3: Install the memory back to your computer.
Step 4: Turn on your computer.
Has any of the tips above helped you? Or do you have any other effective methods? Tell us by leaving us a comment below!