Sometimes the Windows Update process stops working properly, and gives you an error code 0x80070003. If you ran into this problem, here is a list of troubleshooting methods you can try…
Run Windows Update Troubleshooter
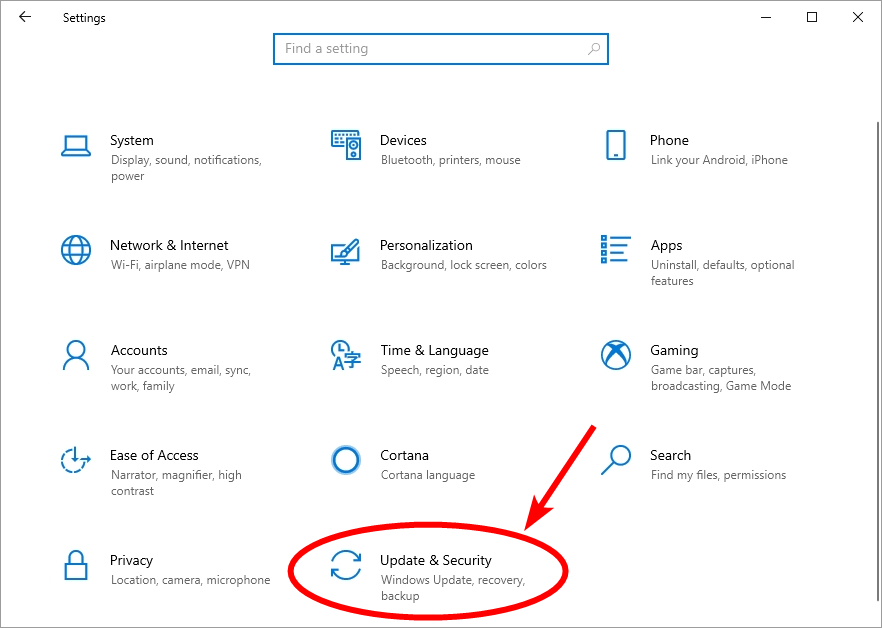
Step 1: Press the Win + I keys on your keyboard.
Step 2: Select Update & Security.
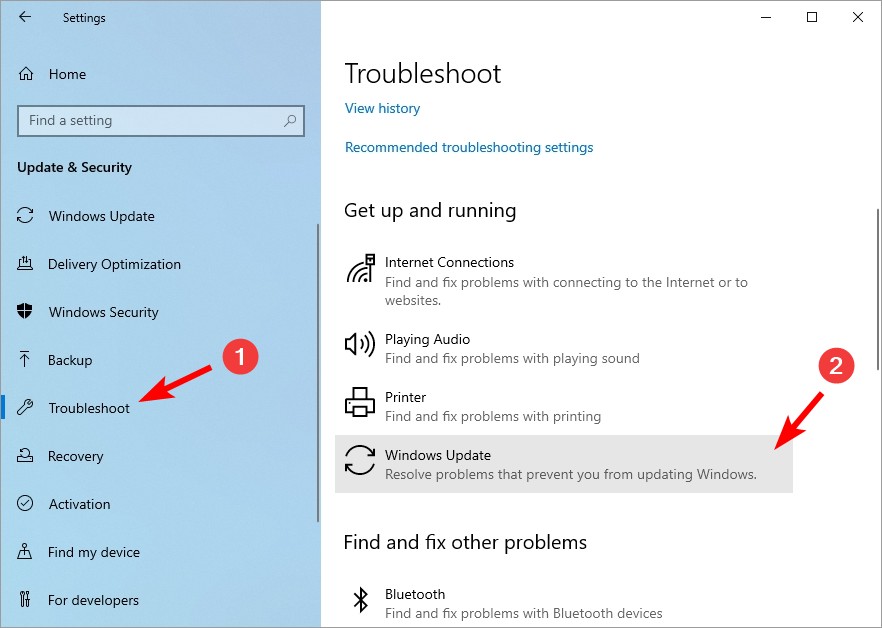
Step 3: Select Troubleshoot and click Windows Update.
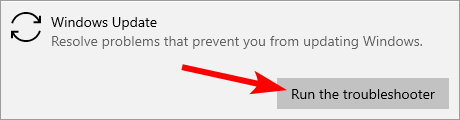
Step 4: Click Run the troubleshooter.
This tool will then try to scan and detect your Windows Update issue. Just follow its instructions to finish the troubleshooting.
Reset the Windows Update components
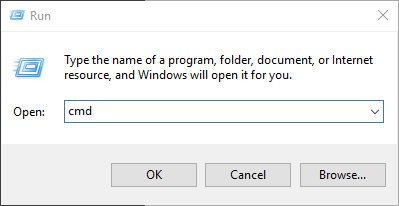
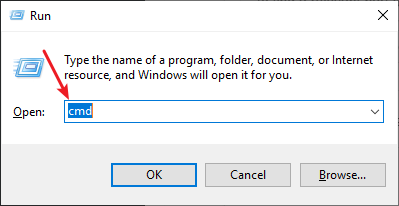
Step 1: Press the Win + R keys on your keyboard.
Step 2: Type cmd and press the Ctrl + Shift + Enter keys on your keyboard.
Step 3: When prompted, click Yes.
Step 4: Enter the following lines of command:
- net stop appidsvc
- net stop bits
- net stop cryptsvc
- net stop wuauserv
Step 5: Enter the following lines of command:
- ren %systemroot%\softwaredistribution softwaredistribution.bak
- ren %systemroot%\system32\catroot2 catroot2.bak
Step 6: Enter the following lines of command:
- net start appidsvc
- net start bits
- net start cryptsvc
- net start wuauserv
Step 7: Run Windows Update again and see if it works this time.
Run System File Checker
Step 1: Press the Win + R keys on your keyboard
Step 2: Type cmd and press the Ctrl + Shift + Enter keys on your keyboard.
Step 3: If you’re on Windows 10, enter the line of command below and wait for the process to finish.
- dism.exe /online /cleanup-image /restorehealth
Step 4: Enter the line of command below and wait for the process to finish
- sfc /scannow
Step 5: Restart your computer.
Hopefully with these approaches you have fixed your 0x8007003 error. If you have any questions or have found other effective fixes, please leave your comment below!