Having FPS frequently dropping or stuttering issues with CS: GO (Counter-Strike: Global Offensive)? This is a very bothering issue, and very common. Luckily there has been some effective fixes for this issue. You can check out the list below and see if any of the solutions is helpful:
Close other highly resource-consuming programs
This is the first thing you should check. If there are programs that are hogging your system resources like CPU or RAM, they are likely the cause of your stuttering issues with CS: GO. You should press the Ctrl, Shift and Esc keys on your keyboard at the same time to invoke Task Manager. And then check the system usage of your programs there. If there are any that run abnormally, close them and then test your CS: GO stuttering issues.
Enable the Ultimate Performance power plan
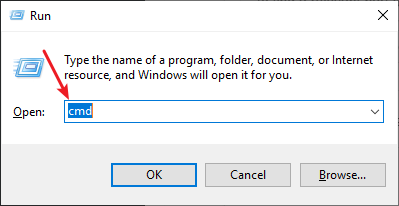
Step 1: Press the Win and R keys on your keyboard
Step 2: Type “cmd“, then press Ctrl, Shift and Enter to open Command Prompt as administrator.
Step 3: Enter the following command:
powercfg -duplicatescheme e9a42b02-d5df-448d-aa00-03f14749eb61
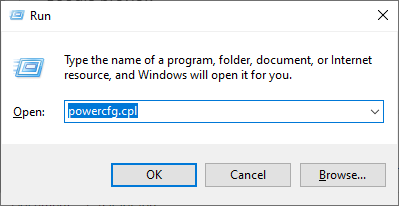
Step 4: Press the Win and R keys on your keyboard
Step 5: Type “powercfg.cpl“, then press Enter.
Step 6: Now you should see the Ultimate Peformance plan. Select it to enable this plan.
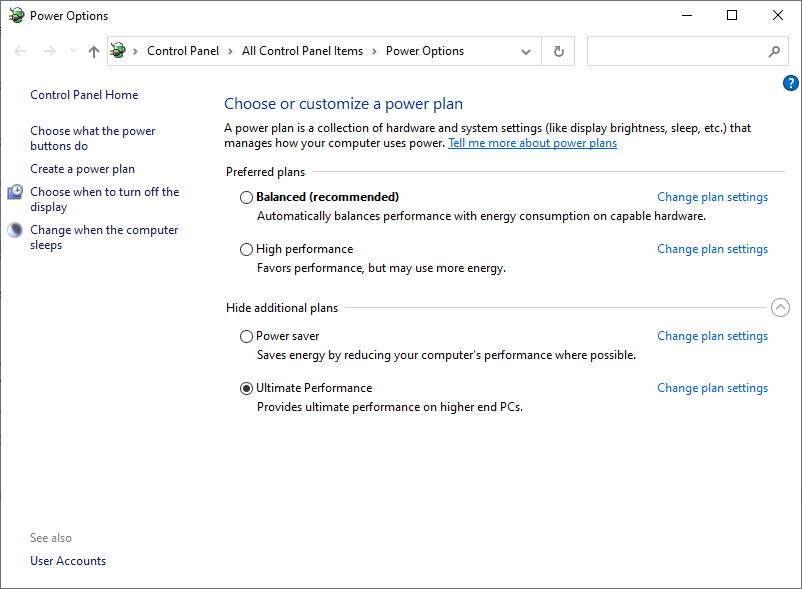
Step 7: Check to see if this makes your CS: GO game run smoothly.
Turn off your in-game recording or streaming program
In-game recording, streaming or overlay utilities may cause your CS: GO stuttering issues. You can try closing these programs to see if your game runs smoother. The programs you should pay attention to include:
- Steam Overlay
- NVIDIA ShadowPlay
- Xbox Game Bar
- OBS Studio
- MSI Afterburner
- Twitch
- …
Reinstall your device drivers
For a lot of people, CS: GO is stuttering because of a problem or outdated graphics driver. To fix it, you should try clean uninstalling the driver. You can do this by using Display Driver Uninstaller (DDU, a utility used for clean uninstalling your graphics driver). Download and install this program, then follow its instructions to uninstall your graphics driver.
Once the driver is uninstalled, you should reinstall it. You can use Device Manager on your Windows system, or go to your hardware manufacturer website to find the correct driver manually. Either way, you should make sure the driver you get is correct and up to date.
Or you can use a driver updater. This is a more convenient option — it only takes a few mouse clicks to update a driver!
The driver updater we recommend is Driver Booster, because it’s powerful and easy to use, and you can use it to update drivers for free!
And what’s more, it provides a 60-day money back guarantee. So you can give it a try without taking any risks.
To use Driver Booster to update your graphics driver:
Step 1: Download Driver Booster and install it on your computer.
Step 2: Launch Driver Booster, and scan for driver updates.
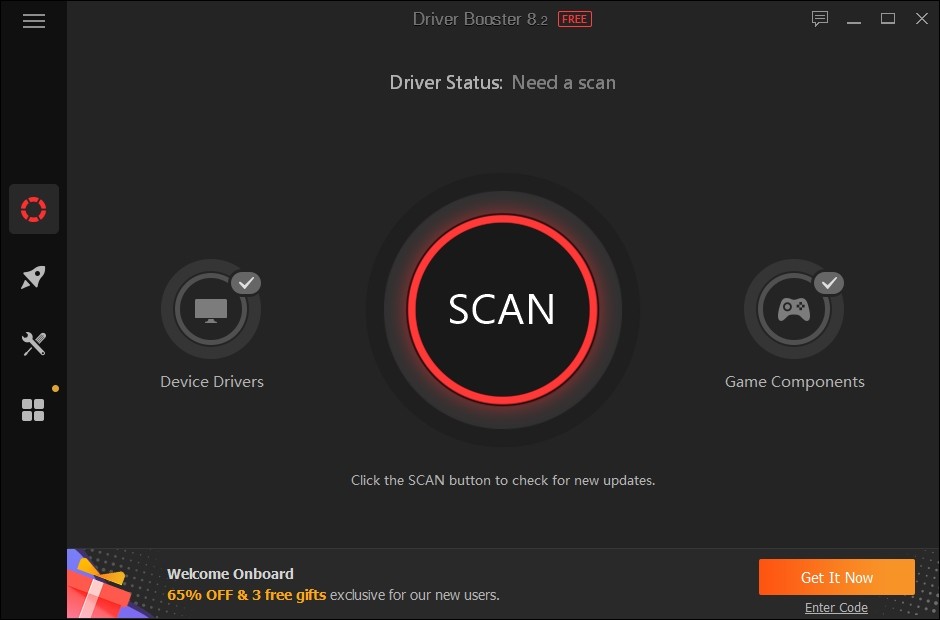
Step 3: Update your graphics driver (click the update button next to it). Or click the red Update Now button to update all your drivers.
Note that the download speed is slow in the free version of Driver Booster. If you want to get rid of the speed limit and unlock its full features, you need to upgrade to its PRO version.