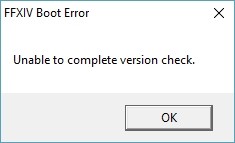
Experiencing an “Unable to Complete Version Check” error when you launch Final Fantasy XIV? This is a very common error for FFXIV players. Some of them may see a bunch of error codes like [30410], [30605], [30607], [10009], [19900], [12175], … following the message.
Although it is common, there has been a lot of effective ways to resolve this problem. Here we have compiled a list of them so you can use it to fix this error.
Here’s the list:
Edit your FFXIV config file
Step 1: Press the Win and R keys on your keyboard, then enter:
%userprofile%
Step 2: Go to Documents > My Games > FINAL FANTASY XIV – A Realm Reborn
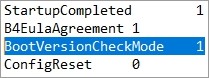
Step 3: Open the FFXIV_BOOT.cfg file with Notepad (or any other text editor you’d like to use).
Step 4: Change the value of BootVersionCheckMode to 1.
Step 5: Save the changes and test your issue.
Use a different network connection
Perhaps the network you’re using is not working properly so you see the Unable to Complete Version Check error. Here are two things you can do:
- If you’re using a wired connection, try connecting to your network wirelessly; Or
- Turn on the mobile hotspot feature on your smart phone, and connect your computer to that network.
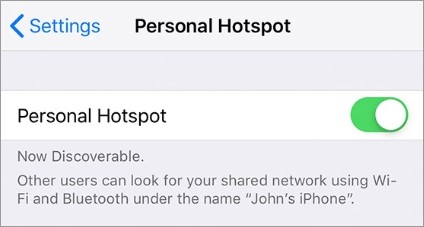
Once you’ve done any of them, try the FFXIV launcher again and see if this resolves your problem.
Use a VPN
This is also an effective way that has helped some people fix their “Unable to Complete Version Check” error.
Using a VPN usually requires some time and computer skills. If you want an easier option, you should try a VPN service. And we recommend using NordVPN.
NordVPN is an easy-to-use and fast VPN service. You’ll be able to set up a VPN connection with just a few mouse-clicks. And its fast speed servers at multiple locations offers you a comfortable and reliable experience.
Also, NordVPN is one of the few services that has strict no logs policy. With its military-grade encryption, NordVPN provides you with top-level security and privacy.
To use NordVPN on your computer:
Step 1: Download and install NordVPN on your computer.
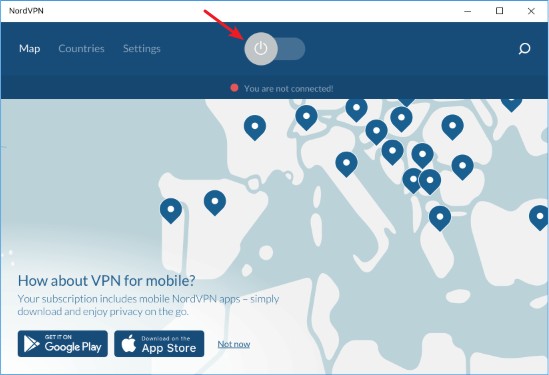
Step 2: Run NordVPN and sign in your account.
Step 3: Click the Connect switch. This will automatically connect you to the VPN server recommended for your device.
Has any of the fixes above worked for you? Or do you have other effective ways? Tell us by leaving a comment below!