Stuck on the “Checking for update” screen when running the CoD: Warzone game? We know it’s very annoying. But don’t panic! A lot of the Warzone users have experienced the same, and they have been able to resolve the problem by trying one of the fixes below! These are the tried-and-true troubleshooting tips we have collected, and they should be able to able to help you!
Check the network you’re using
Your network may be the cause of your Warzone “checking for update” stuck issue. To troubleshoot it, there are a few things you can do:
- Restart your network devices (router and modem) and computers.
- Try connecting to the Internet via your mobile devices as a hotspot.
- Try using network cable to connect to Internet if you’re using a wireless connection.
If these methods worked for you, you’re in luck! But if not, check out the other fixes below…
Change the Warzone compatibility settings
You can fix the stuck on “checking for update” issue by running it as administrator. Here are the steps:
Step 1: Open File Explorer (pressing Win and E on your keyboard), and go to where Warzone is installed.
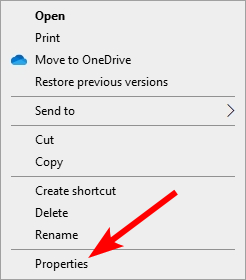
Step 2: Right click your game icon and select Properties.
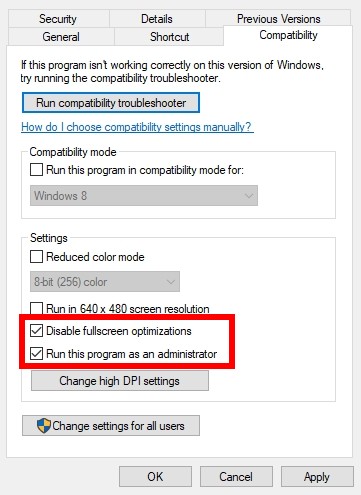
Step 3: Go to the Compatibility tab, and check Disable full screen optimizations and Run this program as an administrator.
Launch Warzone again and see the stuck on “checking for update” issue has been fixed.
Check your DNS settings
Your Warzone stuck on “checking for update” problem can occur because your DNS settings are not properly configured. To check them:
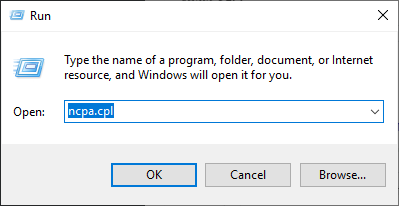
Step 1: Press the Win and R keys on your keyboard at the same time to launch the Run dialog.
Step 2: Type “ncpa.cpl” and press Enter on your keyboard.
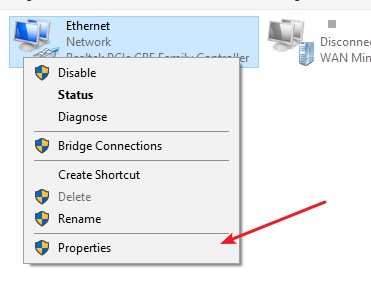
Step 3: Right click your network connection (“Ethernet” for wired connection, and “Wi-Fi” for wireless), and select Properties.
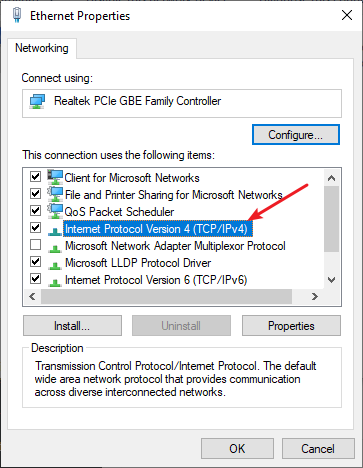
Step 4: Double click Internet Protocol Version 4(TCP/IPv4).
Step 5: Make sure Obtain an IP address automatically and Obtain DNS server address automatically are selected, then click OK. (If they already are then skip this step and go to step 7.)
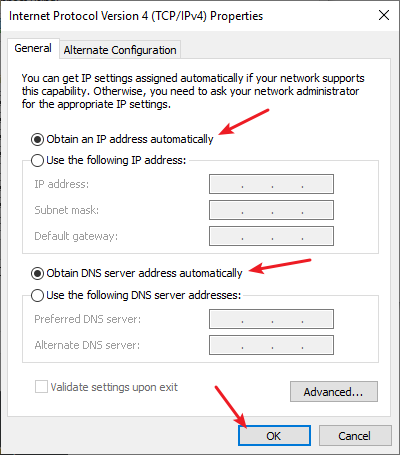
Step 6: Check if this fixes your error. If not move on to the step below.
Step 7: Select Use the following DNS server addresses, then set the server addresses to the Google public DNS server addresses (8.8.8.8 / 8.8.4.4).
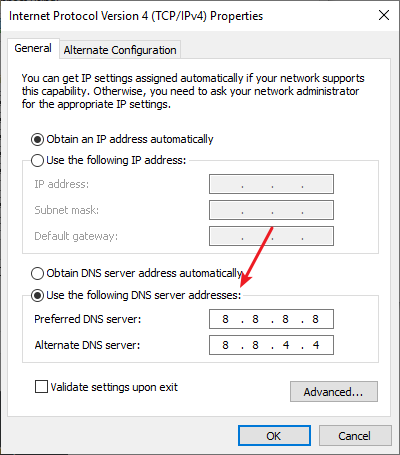
Step 8: Click OK.
This should fix your stuck on “checking for update” issue. Now test and see if this is the case.
Reset your Windows network settings
You can also get out of the “checking for update” stuck by resetting the network settings on the Windows system. Here is how:
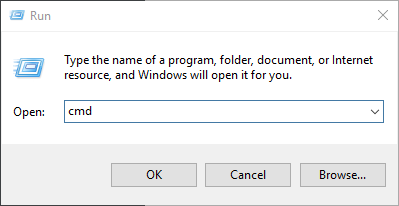
Step 1: Press and the Win and R keys on your keyboard to launch the Run box.
Step 2: Type “cmd” and press Ctrl, Shift and Enter on your keyboard. This will run Command Prompt as Adminstrator.
Step 3:
In Command Prompt, enter the following commands:
ipconfig /flushdns
ipconfig /renew
ipconfig /registerdns
Now close Command Prompt and restart your computer, then check to see if your stuck on “checking for update” is fixed.
Clear the Battle.net cache
Your stuck on “checking for update” issue can be caused by corrupted Battle.net cache. Here’s what you can do to fix it.
Step 1: Make sure your game is closed.
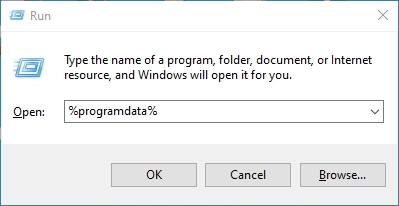
Step 2: Press the Win and R keys on your keyboard to launch the Run dialog.
Step 3: Enter %programdata%.
Step 4: Delete the Battle.net folder.
Step 5: Run your game and see if this method worked for you.
Use a VPN
Using a VPN can help you bypass the interruptions to your connection to the Warzone servers, or fix issues such as extra routes or relays, which can all be the causes of your checking for updates loop.
Using a VPN usually requires some time and computer skills. If you want an easier option, you should try a VPN service. And we recommend using NordVPN.
NordVPN is an easy-to-use and fast VPN service. You’ll be able to set up a VPN connection with just a few mouse-clicks. And its fast speed servers at multiple locations offers you a comfortable and reliable experience.
To use NordVPN on your computer:
Step 1: Download and install NordVPN on your computer.
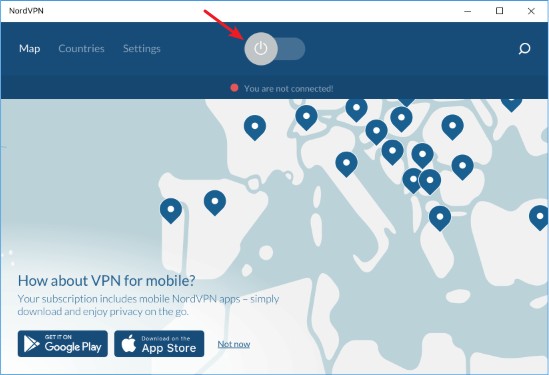
Step 2: Run NordVPN and sign in your account.
Step 3: Click the Connect switch. This will automatically connect you to the VPN server recommended for your device.
Now test your Warzone game and see if NordVPN has helped you fix the issue.
Has any of the fixes above worked for you? Or do you have any other effective ways to fix the stuck on “checking for update” issue on Warzone? Tell us by leaving a comment below!
Thanks, but my issue still persist, bad luck i guess :/