It’s very common to see that a microphone is not properly working on a laptop. Many Windows laptop users are reporting it. If you’re also one of them, don’t worry. The following are the fixes that can help you solve your microphone problem.
- Check your microphone connection
- Check your audio settings
- Check your microphone privacy settings (for Windows 10 users)
Fix 1: Check your microphone connection
The first thing you should do is to make sure your microphone is properly connected to your laptop. Make sure your microphone connects to the right port, and the all your device is in good condition. If anything is broken, you should have it repaired or replaced.
Fix 2: Check your audio settings
Your microphone may not be working properly because you are having the wrong audio settings. To check these settings:
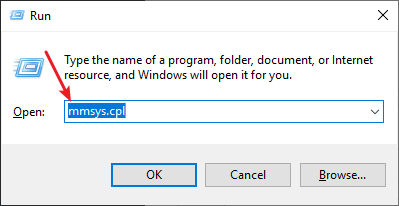
- Press the Win and R keys on your keyboard.
- Type mmsys.cpl and press Enter.
- Select the Recording tab, then make sure your microphone is set as Default Device.
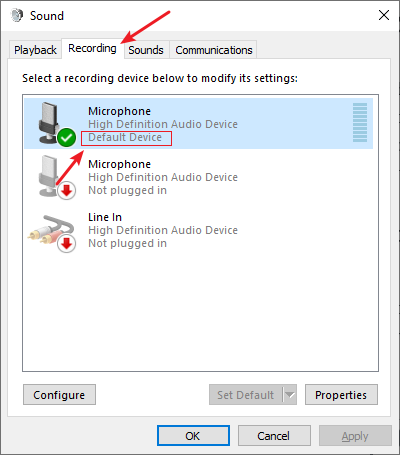
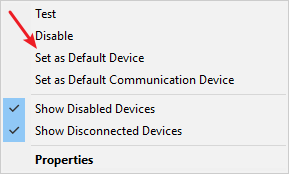
- If not, right click your microphone and select Set as Default Device.
- Double click your microphone.
- Select the Levels tab, and make sure the Microphone slider is near the right end.
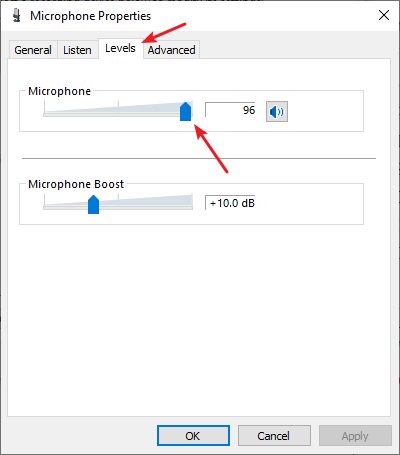
- Click OK all the way out.
These are the settings you should check.
Fix 3: Check your microphone privacy settings
If you’re a Windows 10 user, you should make sure your app has the permission to access your microphone. To check this:
- Press the Win and I keys to open Settings.
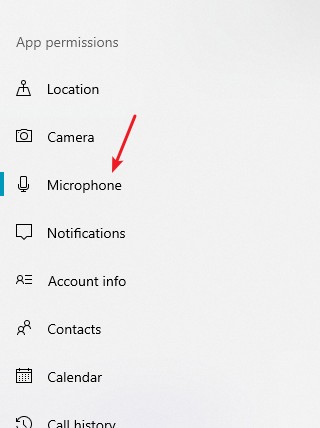
- Go to Privacy > Microphone.
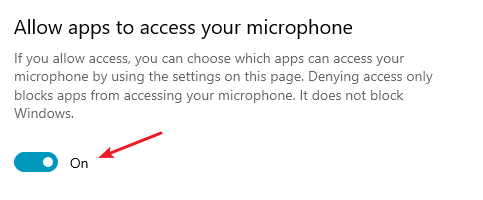
- Make sure Allow apps to access your microphone is enabled.
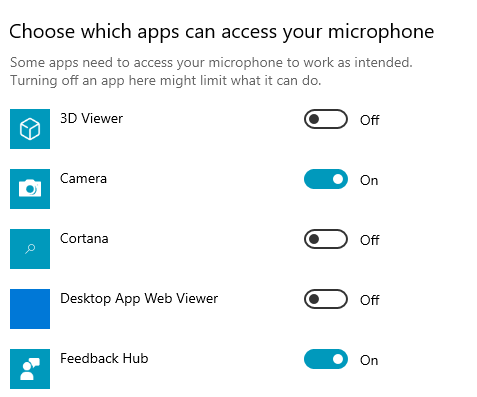
- Make sure the app you’re going to use with microphone has microphone access.
If you have configured these properly, you should be able to use your microphone on your app.