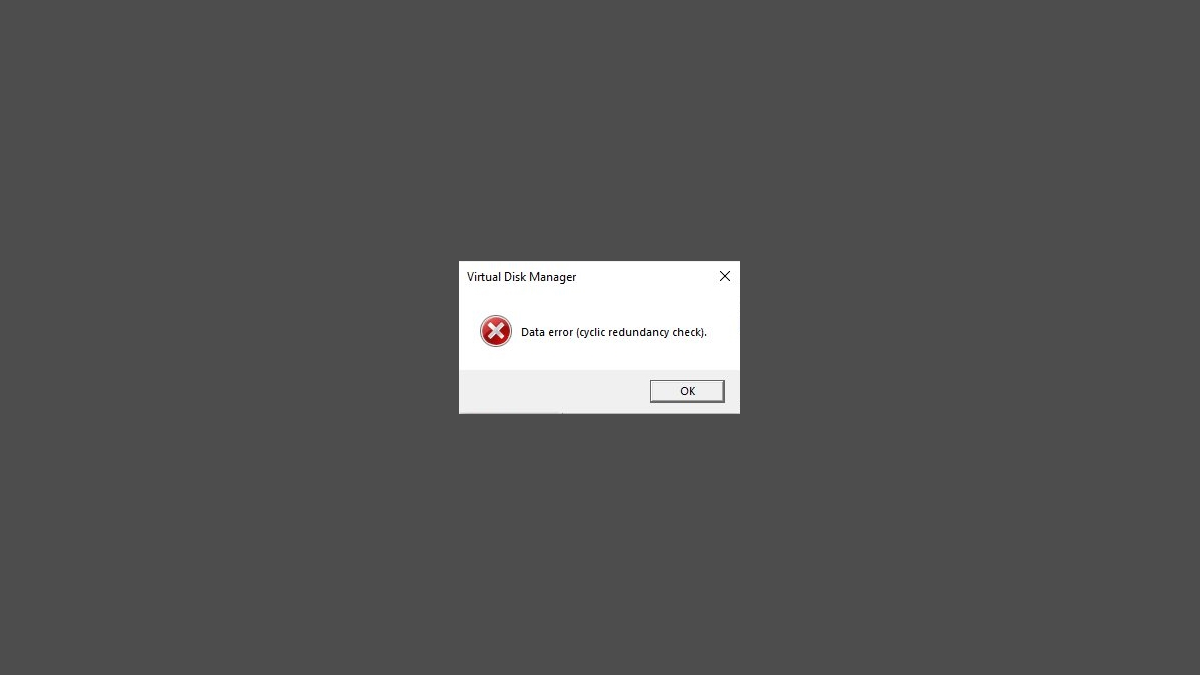
Seeing a Data error (cyclic redundancy check) message on your Windows computer? This is a very common hard drive related issue and a lot of Windows users have experienced it.
To fix this error, there are a few solutions you can try. Here we have compiled them together and list them below. Take a look at these fixes and see if any of them can help you.
Run the Check Disk utility
Check Disk is a built-in Windows system tool that can help you scan for issues with your disks and repair them automatically, and it can be a good way to fix your cyclic redundancy check error. To do this:
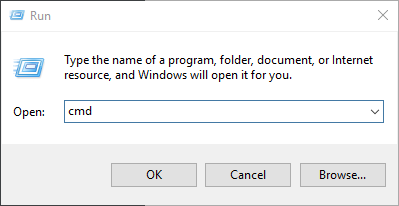
Step 1: Press and the Win and R keys on your keyboard to launch the Run box.
Step 2: Type “cmd” and press Ctrl, Shift and Enter on your keyboard. This will run Command Prompt as Adminstrator.
Step 3: In Command Prompt, enter the following commands:
chkdsk X: /f
(X should be replaced with the letter of your problem drive.)
Step 4: Wait until the process is complete and then restart your computer.
Now check to see if this fixes your cyclic redundancy check error.
Run error checking on your problem drive
This is the other system tool you can use to check and fix the issue that causes your cyclic redundancy check error. Here is how:
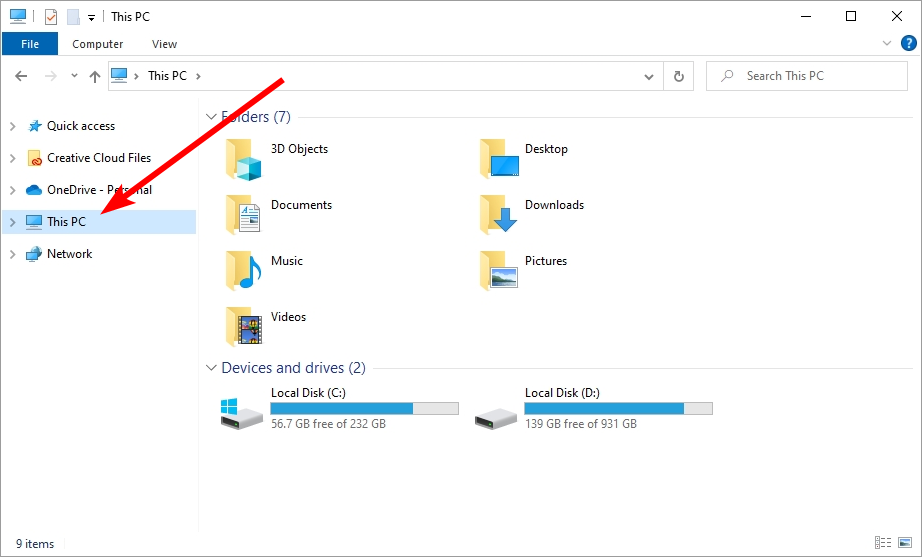
Step 1: Open File Explorer (pressing Win and E on your keyboard), and click This PC.
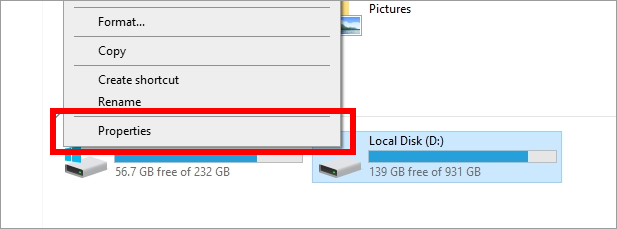
Step 2: Right click your problem drive and select Properties.
Step 3: Select the Tools tab and then click the Check button.
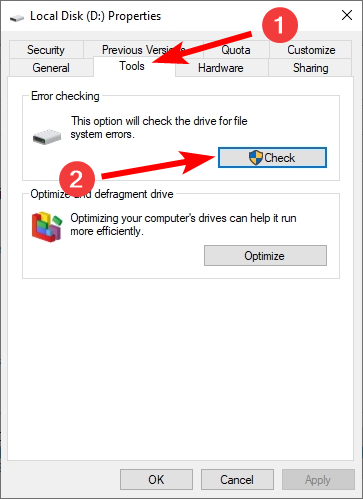
Step 4: Follow the on-screen instructions to complete the error checking process.
Has any of the fixes here helped you fix your cyclic redundancy check error, or do you have other effective fixes? Tell us by leaving a comment below!