
Sometimes you may want to remove the temporary files on your Windows computer — you want to save some space on your hard drive or improve your computer performance a bit.
If you’re looking for an effective way that is safe (you don’t want to delete something mistakenly), here is the right place. The following is a list of temporary files removing method you can try.
Clear your temporary files with Disk Cleanup
You can use the built-in Disk Cleanup tool on Windows 10 to clear cache easily. It is a computer maintenance utility designed to remove temporary or cache files and free up disk space on your Windows computer hard drive. To use it:
Step 1: Click Start, and then type “cleanup”.

Step 2: Select Disk Cleanup in the results.

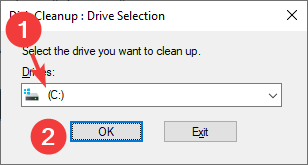
Step 3: Select the drive you want to clear the cache of, and click OK.
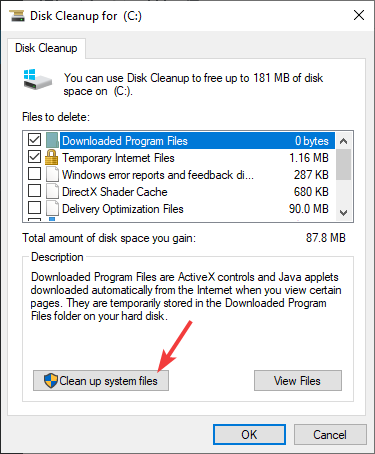
Step 3: Click the Clean up system files button.
Step 4: Select the drive you want to clear the cache of, and click OK.
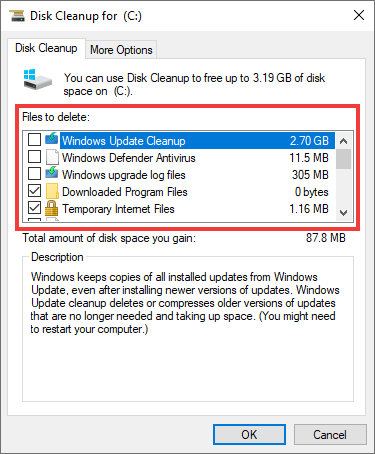
Step 5: Select the files you want to delete.
Note: You can read the description of each file type to learn what these files are.
Step 6: Click OK to delete the selected files.
Your system temp files should now be cleared.
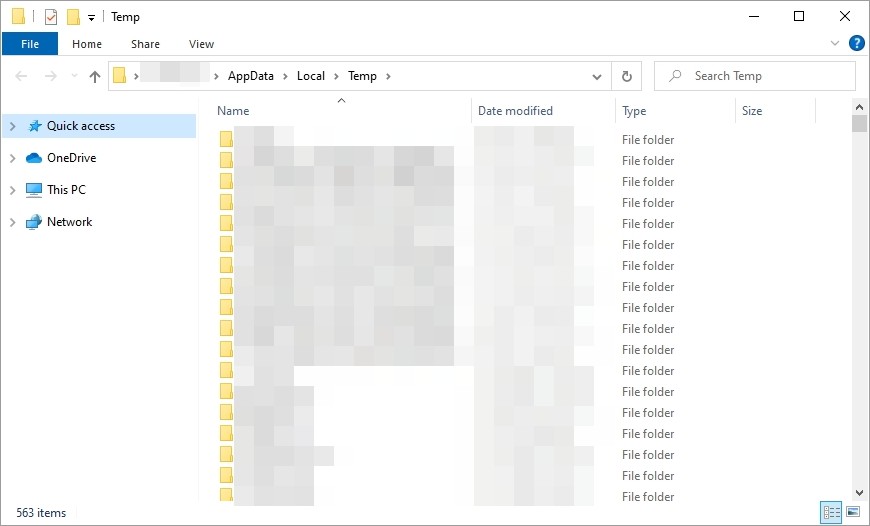
Empty your Temp folder
The Temp folder is where the applications on your computer store temporary files. Normally, they should remove the temporary files they create. But sometimes they fail to do so. And so there are more and more files generated in this folder, which can take up a large amount of space.
To remove the content of this folder:
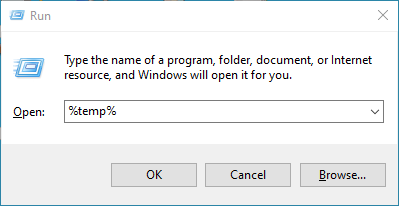
Step 1: Press the Win and R keys on your keyboard to invoke the Run box.
Step 2: Enter %temp%.
Step 3: In the folder opening up, delete all the files and folders.
This should remove all the temp files stored in this folder.