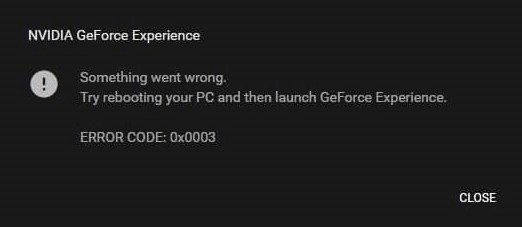
See an error code 0x0003 or 0x0001 on your GeForce Experience? A lot of NVIDIA users have experienced this issue. But many of them have also fixed it with one of the methods below! So if you’re also experiencing this issue, just check them out!
Change the settings of your NVIDIA services
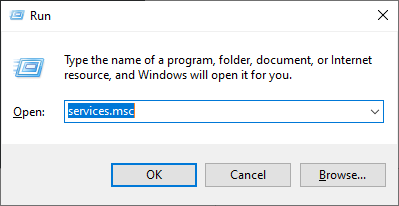
Step 1: Press Win + R, and enter “services.msc”.
Step 2: Double click NVIDIA Telemetry Container.
Step 3: Select Log On, and click Local System account.
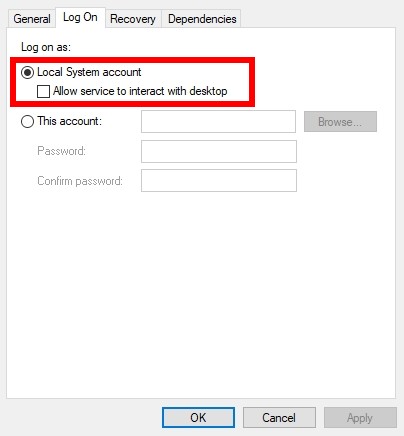
Step 4: Click OK.
Step 5: Double click NVIDIA Display Container. Select Automatic for Startup type.
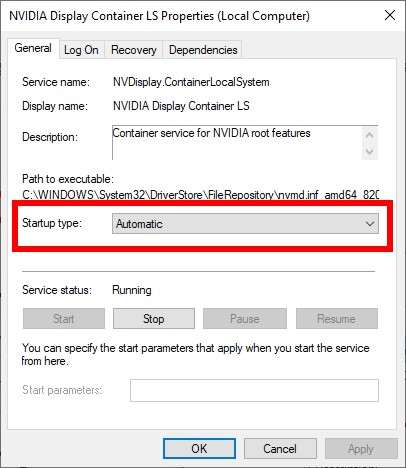
Step 6: Click OK.
Step 7: Restart your computer and test the issue.
Check your Firewall
Is your antivirus program or firewall interrupting GeForce Experience? This is usually the reason why you see the 0x0003 or 0x0001 error. You should check your antivirus to make sure it isn’t blocking GeForce Experience. If it is, trying putting GeForce Experience in the whitelist, or disable the antivirus program temporarily (be careful for what you’re browsing when it’s off). Then see if this fixes 0x0003 or 0x0001 error.
Update your NVIDIA driver
Sometimes you see the 0x0003 or 0x0001 error because you’re having some issues with your graphics driver. You should update your graphics driver to fix these issues.
To update your driver, you can use Device Manager on your Windows system, or go to your hardware manufacturer website to find the correct driver manually. Either way, you should make sure the driver you get is correct and up to date.
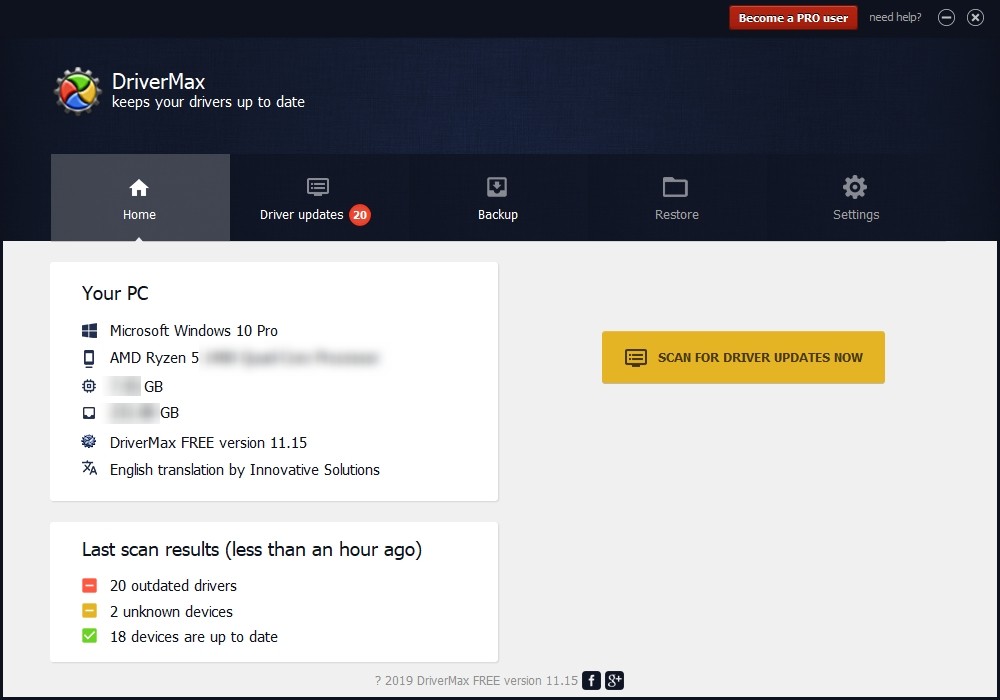
Or you can use a driver updater. This is a more convenient option — it only takes a few mouse clicks to update a driver! The driver updater we recommend is DriverMax, because it’s powerful and easy to use, and you can use it to update drivers for free!
To use DriverMax to update your graphics driver:
Step 1: Download DriverMax and install it on your computer.
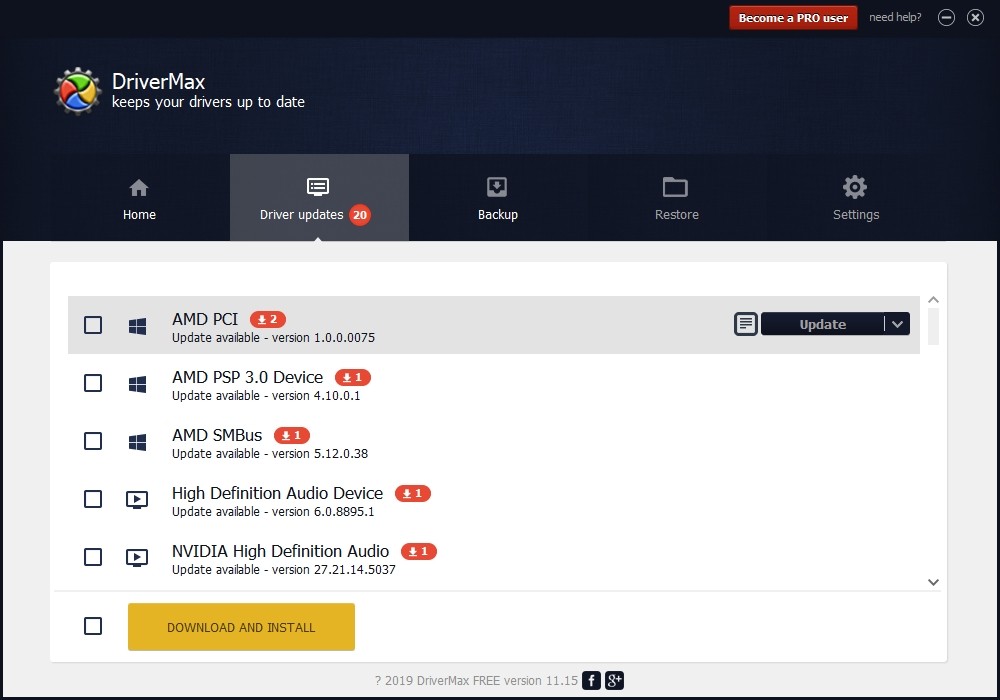
Step 2: Launch DriverMax, and scan for driver updates.
Step 3: Update your drivers (click the update button next to a driver listed).
That’s it! That’s how you can update a driver with DriverMax.
Note that there are some limitations in the free version of DriverMax. Like you can only update two drivers per day. If you want to get rid of these limits and use its full features, you need to upgrade to its PRO version.