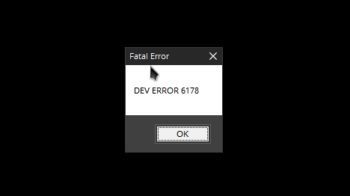
A lot of NVIDIA graphics users have seen the error “NVIDIA Installer Failed” or “NVIDIA Installer Cannot Continue”. This is a very common issue, and very annoying.
But don’t worry! Here we have compiled a list of troubleshooting methods you can try to fix this issue:
Kill all the NVIDA processes
You should try closing all NVIDIA processes before you run the installer:
Step 1: Press Ctrl + Shift + Esc.
Step 2: End all NVIDIA tasks (right click them and select End task)
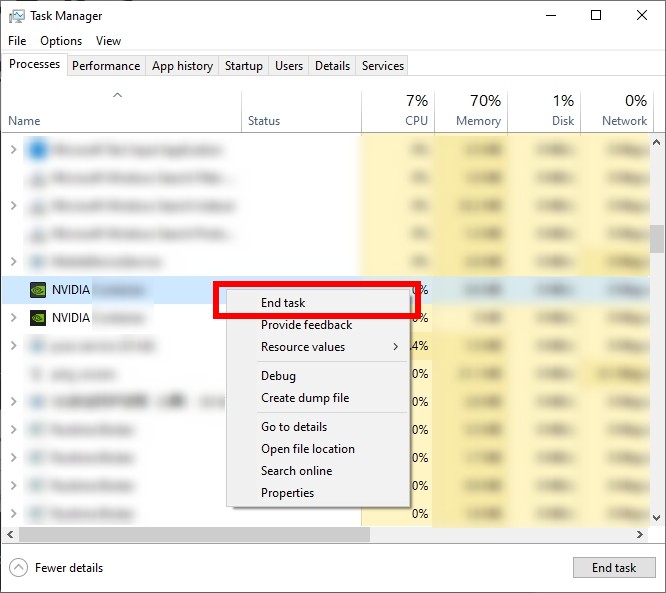
Step 3: Run the installer again and test the issue.
Clean uninstall your graphics driver
Perhaps your previously installed NVIDIA driver cause the issue. To fix it, you should try clean uninstalling the driver. You can do this by using Display Driver Uninstaller (DDU, a utility used for clean uninstalling your graphics driver). Download and install this program, then follow its instructions to uninstall your graphics driver.
Install your driver using another method
One way you can try is to use Device Manager. Open it, find your NVIDIA device, right click it and update its driver.
If Device Manager doesn’t help, then you can try a driver updater. This is a more convenient option — it only takes a few mouse clicks to update a driver! The driver updater we recommend is DriverMax — it’s powerful and easy to use, and you can use it to update drivers for free!
To use DriverMax to update your graphics driver:
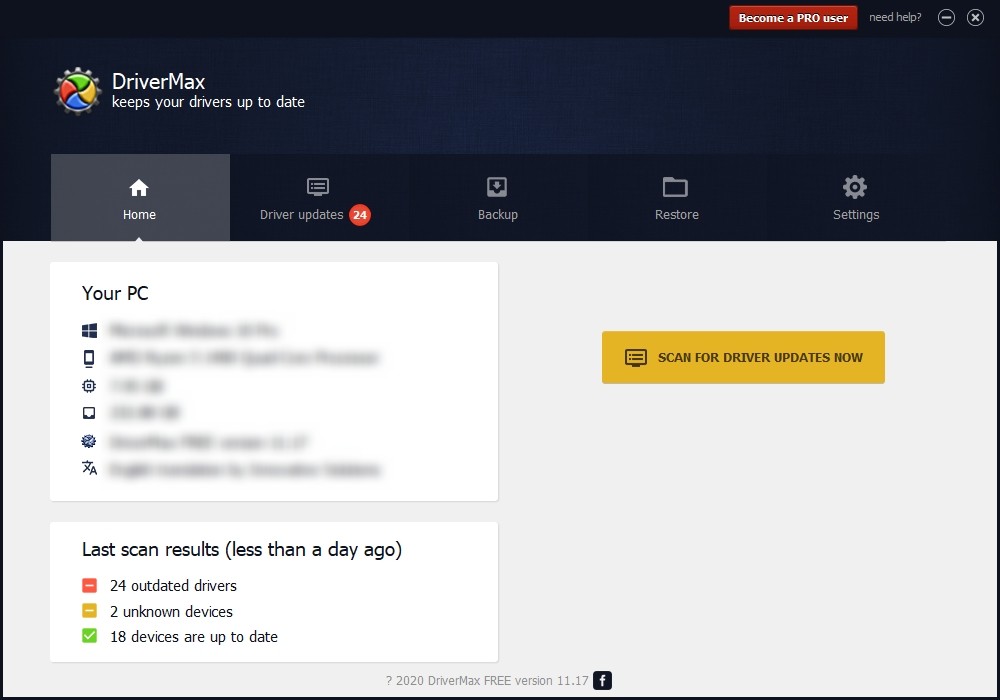
Step 1: Download DriverMax and install it on your computer.
Step 2: Launch DriverMax, and scan for driver updates.
Step 3: Update your NVIDIA driver (click the update button next to it).
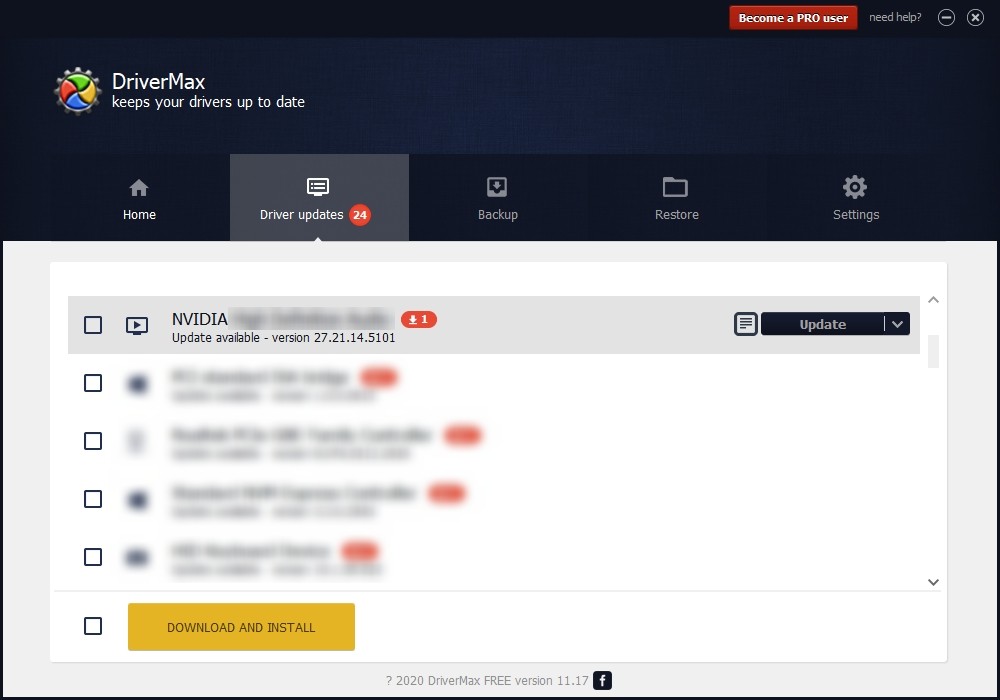
That’s it! That’s how you can update a driver with DriverMax.
Note that there are some limitations in the free version of DriverMax. Like you can only update two drivers per day. If you want to get rid of these limits and use its full features, you need to upgrade to its PRO version.