
The RPC server is unavailable error usually occurs when you are having trouble connecting to another computer. A lot of the times it is caused by incorrect settings on your computer.
To fix this error, here we have compiled a list of troubleshooting methods that have helped a lot of people. Take a look at them below:
Check your Windows Firewall settings
You may see the RPC unavailable error if your Windows Firewall blocks the connection of Remote Assistance. To fix this:
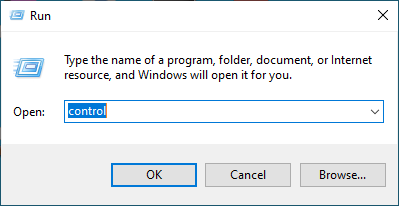
Step 1: Press the Win and R keys on your keyboard, and enter “control”.
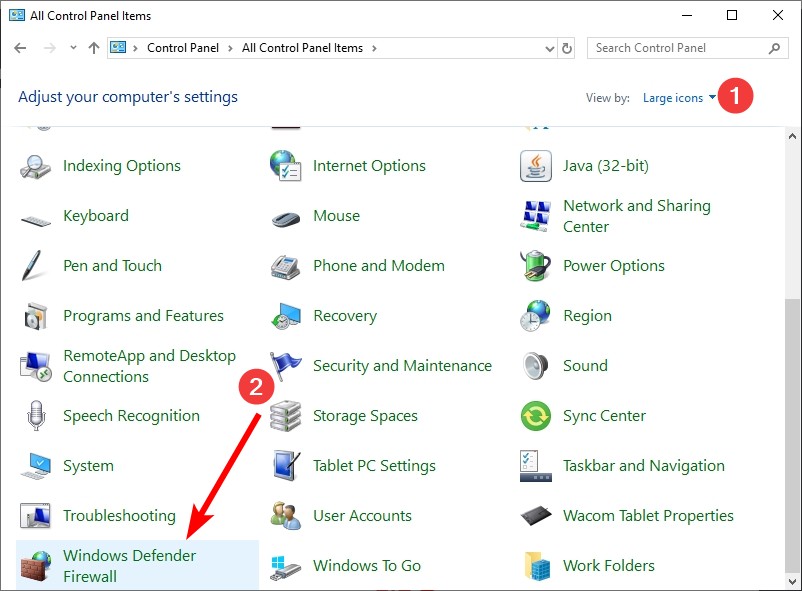
Step 2: View Control Panel by Large icons, and select Windows Defender Firewall.
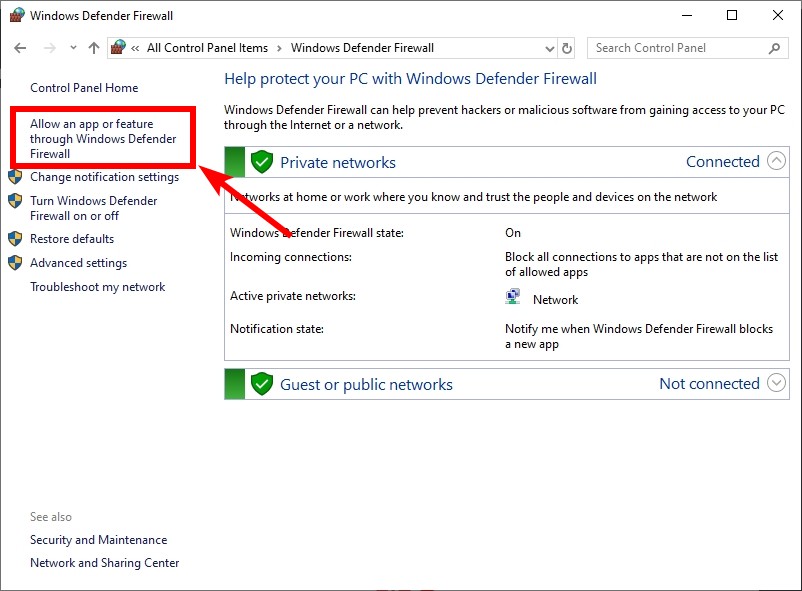
Step 3: Click Allow an app or feature through Windows Defender Firewall.
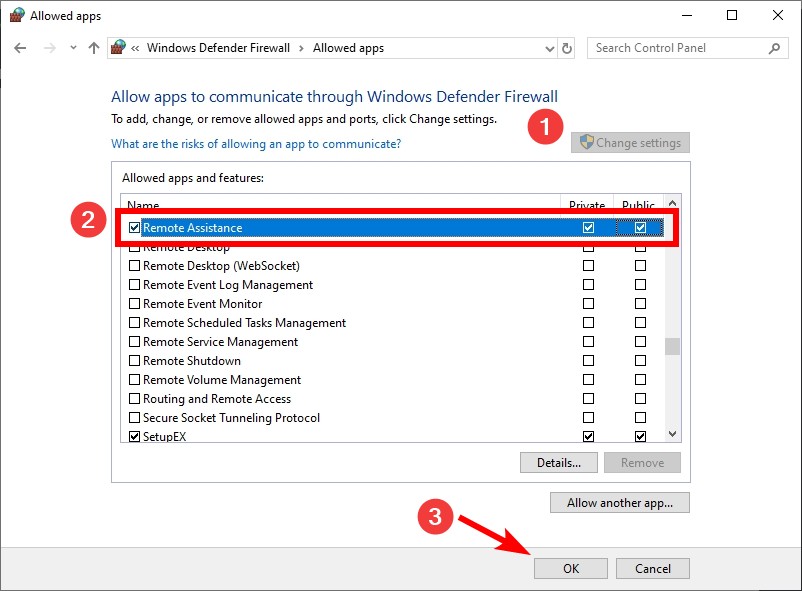
Step 4: Click Change settings, check all the checkboxes of Remote Assistance, then click OK.
Step 5: Check to see if this gets rid of the error.
Change your power plan
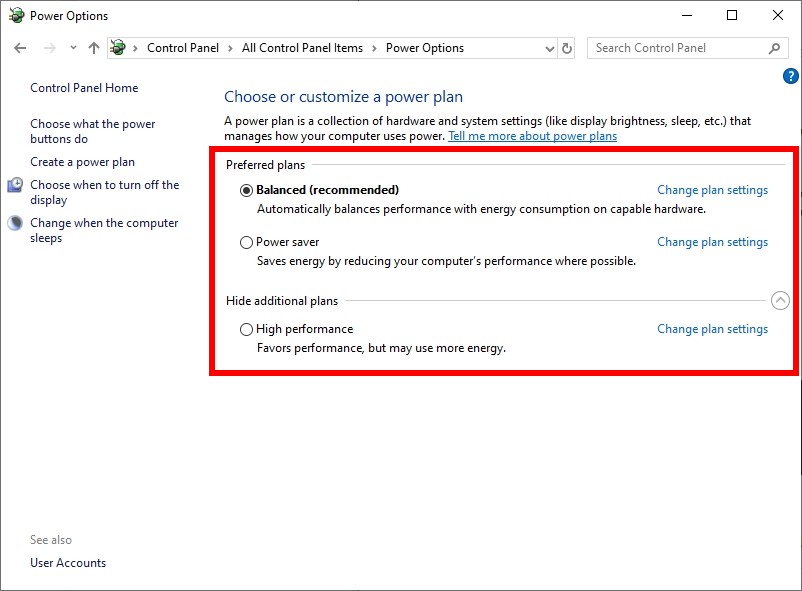
It is also possible that the power plan you’re using causes the RPC sever is unavailable error.
Step 1: Press the Win and R keys on your keyboard, and enter “powercfg.cpl”.

Step 2: Test with another power plan to see if this fixes your error.
Check all your RPC services
The PRC unavailable error is also likely to occur if the RPC-related services are not working properly on your computer. To check them:
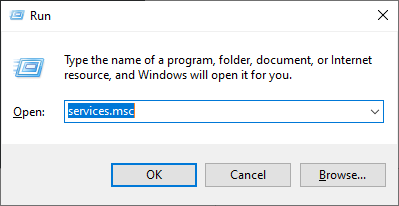
Step 1: Press the Win and R keys on your keyboard, and enter “services.msc”.
Step 2: Make sure DCOM Server Process Launcher, Remote Procedure Call (RPC) and RPC Endpoint Mapper is set to Running and Automatic. If not, double click each of them, click the Start button and set its startup type to Automatic.
Modify a Registry setting
Note: Changing Registry settings is risky. It is possible that your system is not working properly after doing that. You should create a backup of your registry before making any changes to Registry.
This error sometimes can also be fixed by changing a Registry value:
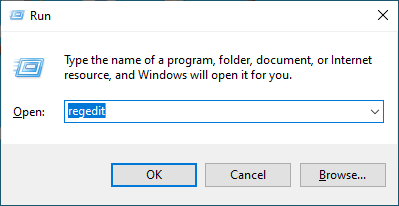
Step 1: Press the Win and R keys on your keyboard, and enter “regedit”.
Step 2: Create a backup of your registry (File > Export)

Step 3: Go to “HKEY_LOCAL_MACHINE\SYSTEM\CurrentControlSet\Services\Tcpip6\Parameters“
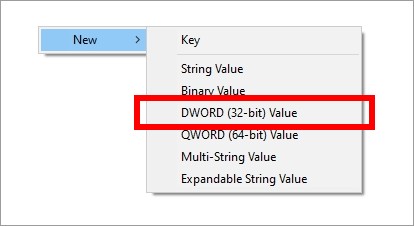
Step 4: Right click an empty area, then select New > DWORD (32-bit) Value.
Step 5: Rename it DisabledComponents
Step 6: Double click it and type in the value 8.
Step 7: Restart your PC and test your issue.
Has any of the fixes above worked for you? Or do you have any other effective fixes? Tell us by leaving a comment below!


